 |
| Report Updates |
| This month, to improve relevance, clarity and/or presentation, we’ve made some changes for 3 different reports. Please refer to the screenshots below for the updates. |
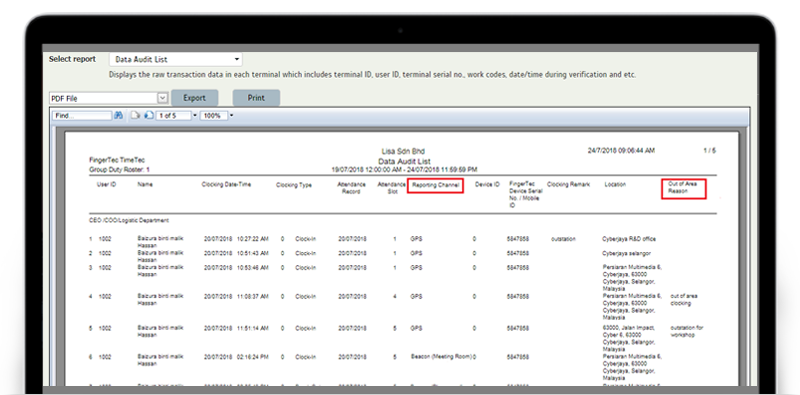
| i. Data Audit List Report:
Added an 'Out of Area Reason' column
|
 |
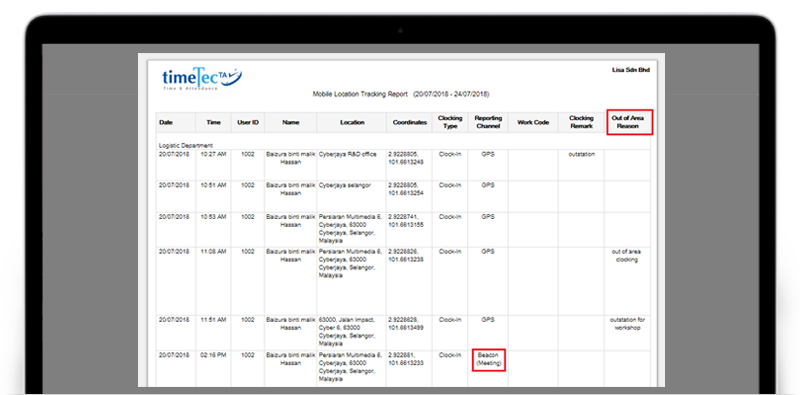
| ii. Mobile Location Tracking Report:
Added an 'Out of Area Reason' column
|
 |
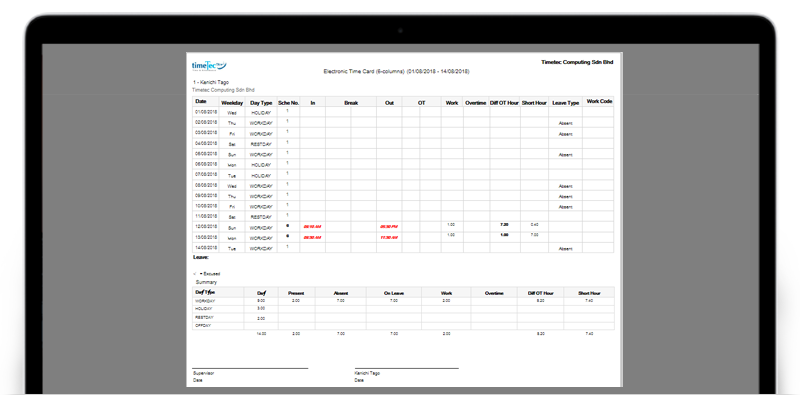
| iii. Electronic Time Card (6-columns) Report
Revamped layout and design for the report |
| Previous Report |
 |
| New Report |
 |
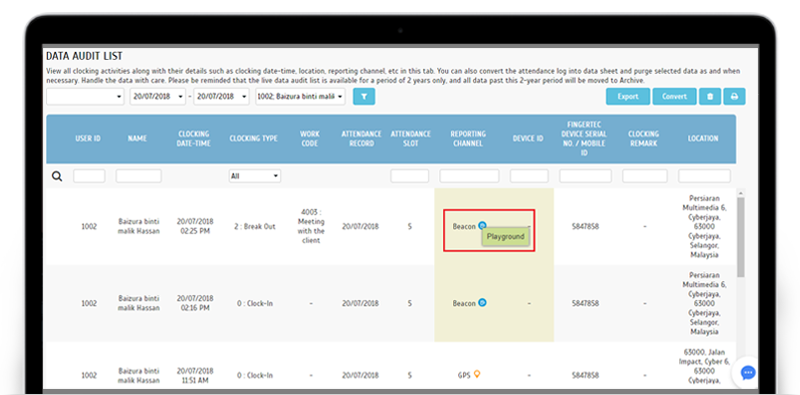
| Data Audit List Enhancement |
| Along with the updates in the Data Audit List Report and Mobile Location Tracking Report, we’ve also made similar changes to the Data Audit List page itself. The upgrades are as follows: |
| i. Changed the terms used in 'Reporting Channel' column to display Clocking Method Name followed by icon |
| ii. To display Checkpoint Name when mouse over the icon for Beacon/NFC/Wifi |
| iii. To display Clocking Address in 'Location' column |
| iv. Removed the 'Log ID' column |
 |
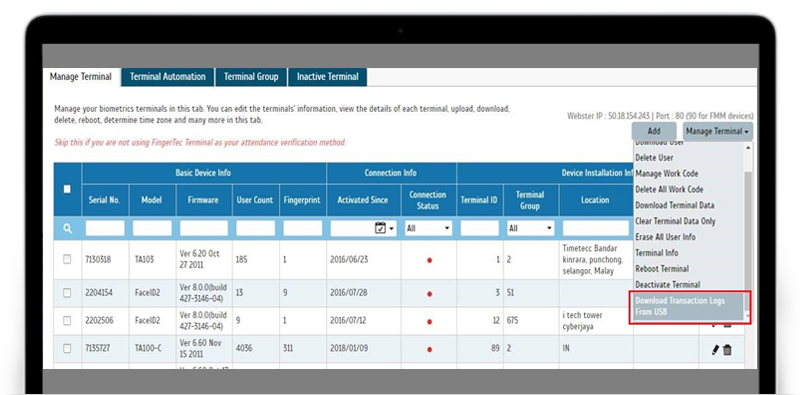
| Manage Terminal – New Function: ‘Download Transaction Logs From USB’ |
| Next up is a release catered to users using FingerTec terminals in TimeTec TA. Specifically, it’s useful for companies that may have terminals with no connection (or unstable connection) to the Internet. To mitigate this situation, we have now added a function that enables Admins to ‘Download Transaction Logs From USB’. Thus, you can export transaction data from the terminal to a USB flash disk (.dat file) and transfer the disk to a connected site before uploading the data to TimeTec TA. However, please note that before you proceed with this, you need to add your FingerTec Terminal and the relevant users beforehand. |
| i. Manage Terminal - New option to ‘Download Transaction Logs from USB’ |
 |
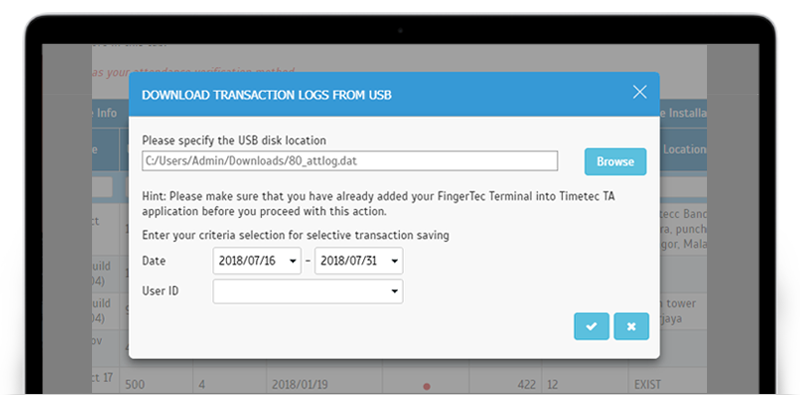
| ii. Select File, Date and User ID to download transaction logs |
 |
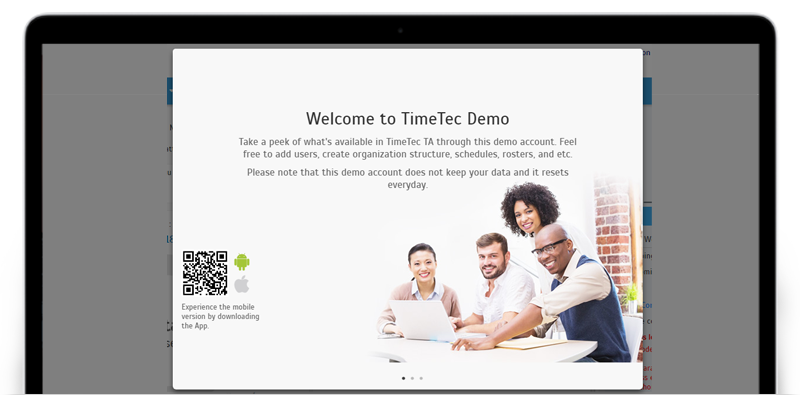
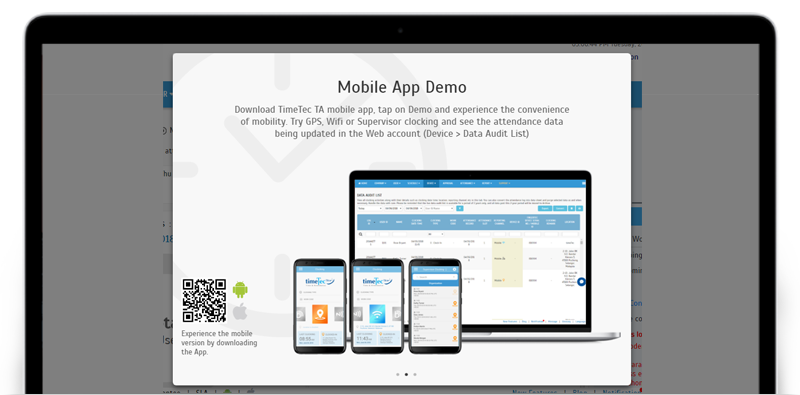
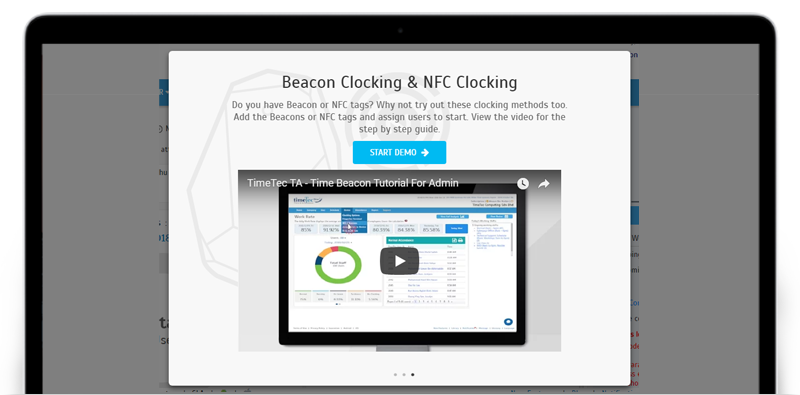
| Demo Account– Enhanced Welcome Message |
| Before purchase, it’s essential to know if an application suits your company. Thus, to assist in your product evaluation, TimeTec has always offered a free 30-day trial subscription, with the full range of features available. On top of that, users can also take a quick self-guided tour of the Demo account for each TimeTec solution. In case visitors require some hints on how to proceed after the Demo login, we’ve recently enhanced the Welcome message pop-up. A new set of slides will highlight the various options or features that they can explore. |
 |
 |
 |
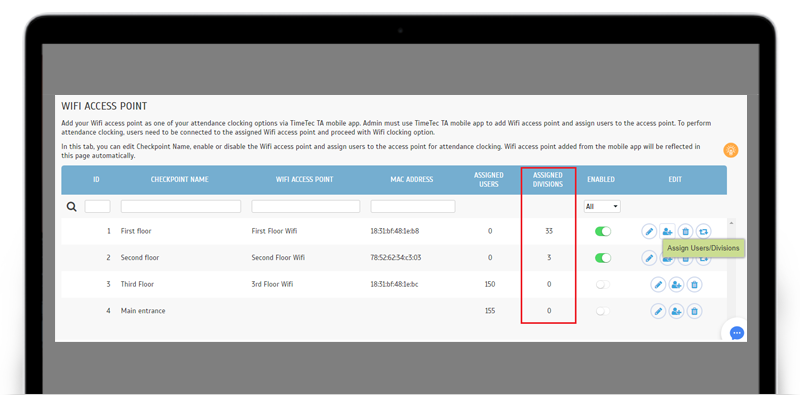
| Enhancements for Wifi Access Point |
| Several months back, we introduced a new mobile clocking method for users, known as Wifi Clocking. This option allows users to clock-in via smartphone as long as they are connected to an assigned pre-enrolled Wifi Checkpoint. Since then, we’ve been tweaking things to address issues and improve performance. The list of changes made this month are shown as below: |
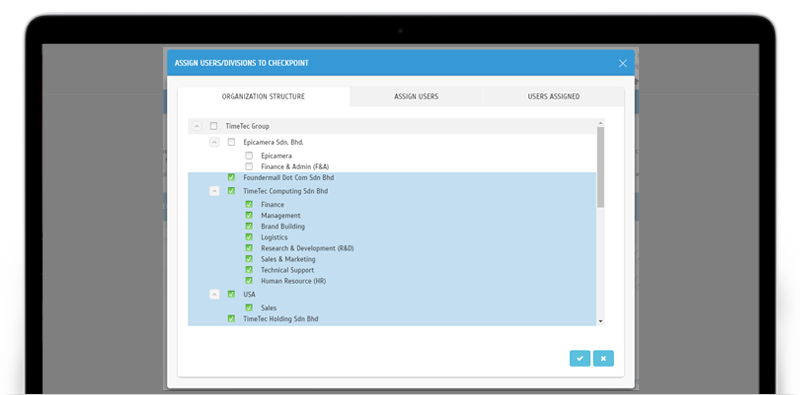
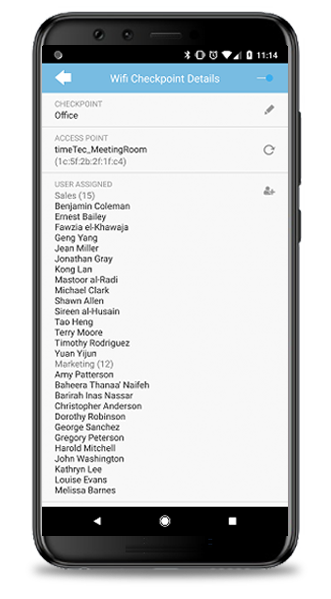
| i. Wifi Access Point- Assign Users/Divisions to Checkpoint
Wifi Clocking can now be assigned by Division
|
 |
 |
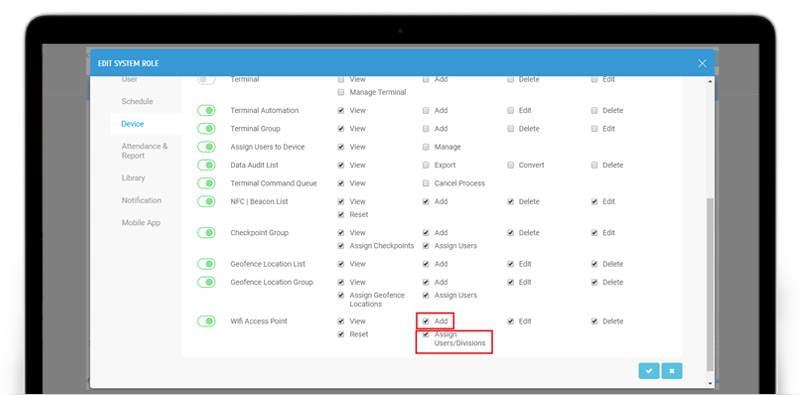
| ii. Manage System Roles & Admin - System Roles > Device > Wifi Access Point
Updated module rights for ‘Assign Users/Divisions’
|
 |
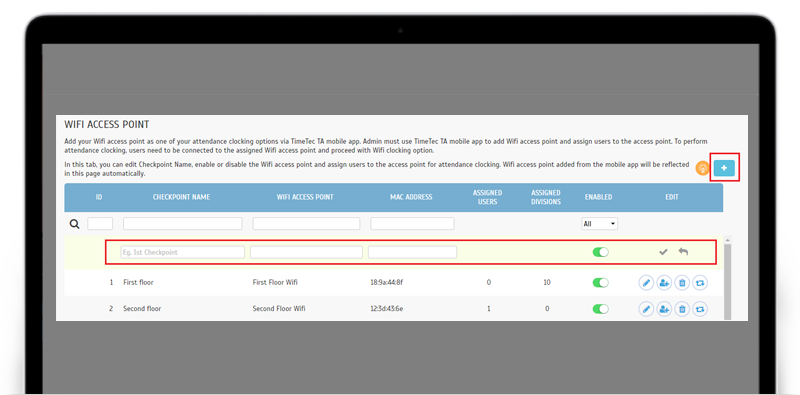
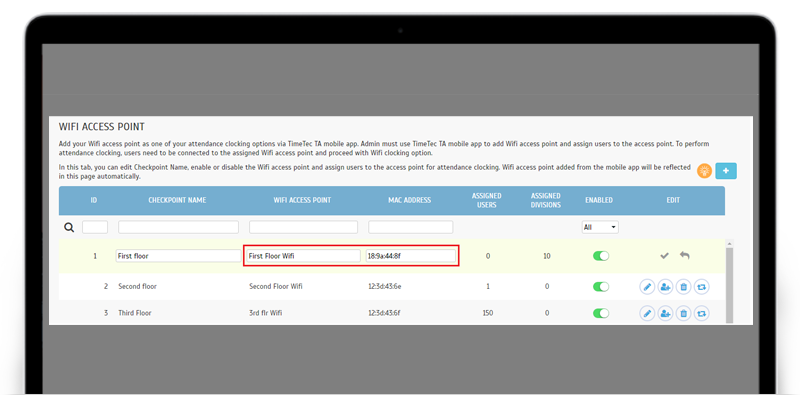
| iii. Wifi Access Point – Allow users to add/update Wifi Access Point from Web application
Previously, Admins only have the option of using the Mobile App to add/register Wifi Access Points. To circumvent problem in situations where a Wifi Access Point has multiple MAC addresses, we’ve recently added the function to allow Admins to also perform this from the Web. Thus, you can input or specify the exact MAC address that needs to be registered for Wifi Clocking purposes. Click on the new Add (“+”) button to do so. Thereafter, users can also update the access points and MAC address from the Web. |
 |
 |
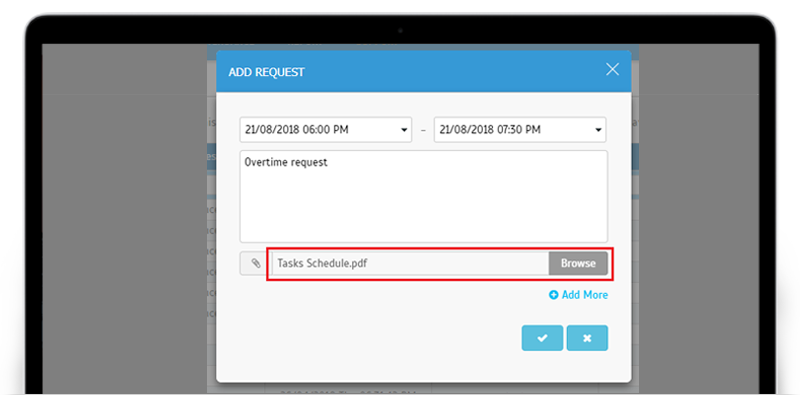
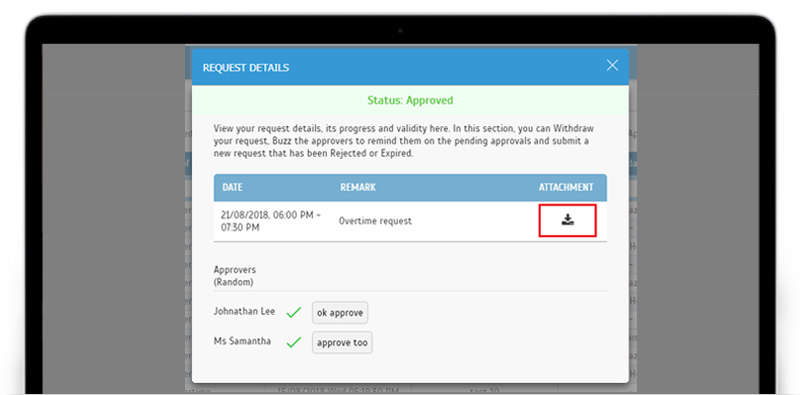
| Approval module– Allow attachments for Overtime Approval Request |
| Within TimeTec TA, there is an Approval module which enables Admins to setup Overtime Approval rules. Following that, assigned employees can apply for Overtime and these requests are then approved or rejected by their Manager/Admin, all through the system. Following customer’s request, we’ve enhanced this process, and users can now add attachments (pdf or images) when they are applying for Overtime Approval. Please refer to the screenshots below for more details: |
| i. Add Overtime Request Pop-up |
 |
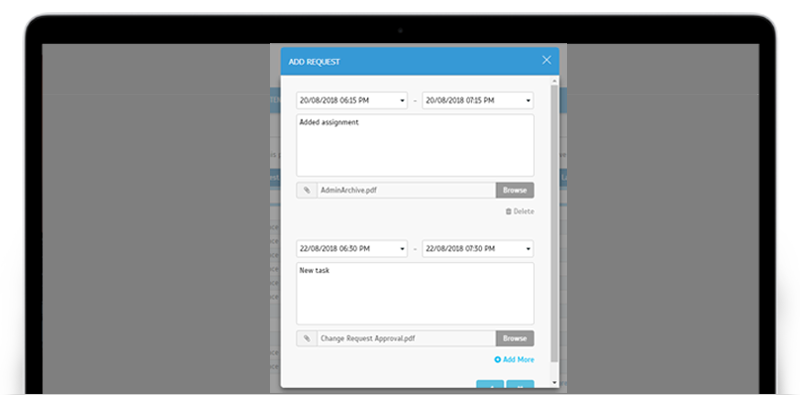 |
| ii. Request Details Pop-up |
 |
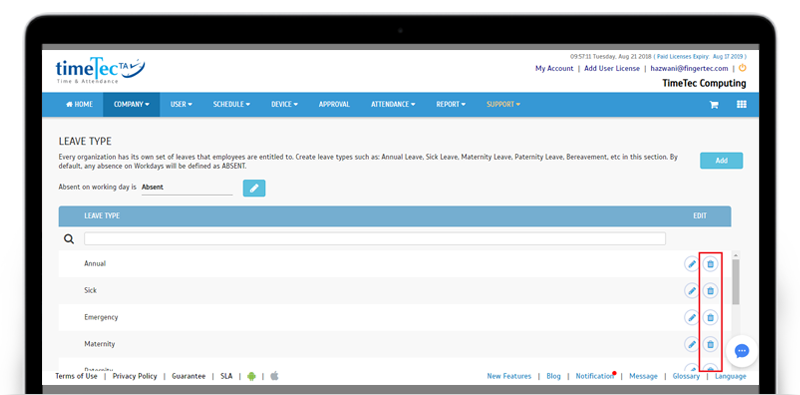
| Leave Type Module Optimization |
| We’ve also improved the interface for Leave Type module: By default, the delete button will now always be displayed for all leave types. However, only the Admin is able to delete the leave type if it is not in use. |
 |
 |
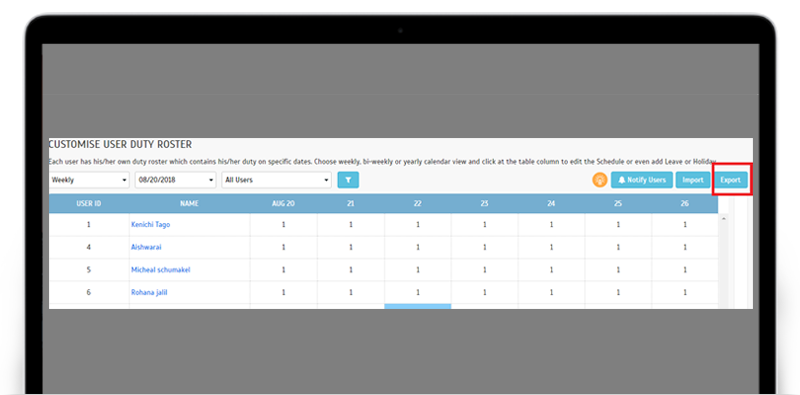
| Customise User Duty Roster – New ‘Export’ function |
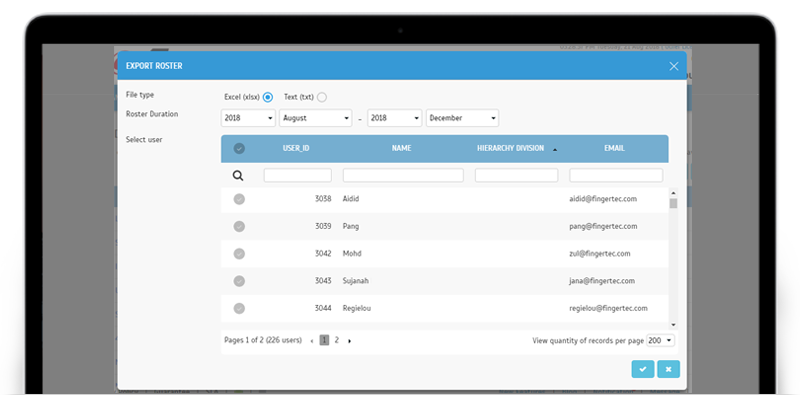
| Next, we move on to Customise User Duty Roster, one of the key modules in TimeTec TA. Following the introduction of a Monthly View in July; this month, we’ve released a new Export function for the individual User Duty Roster. To utilize the function; click Export > select file type (.xlsx or .txt) > select duration > select user(s) > export. This comes in handy if you need to keep archives or require a quick template file to customise the upcoming duty rosters. Just make the required changes and you can use this amended file for the corresponding ‘Import Roster’ function. |
| i. Export button |
 |
| ii. Export Roster selection |
 |
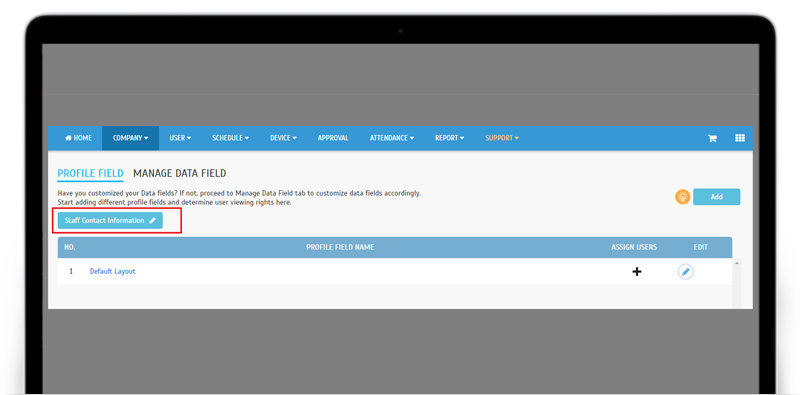
| Company: Profile Field- Added Display Settings For Staff Contact Info |
| Additionally, we’ve introduced a new function called Staff Contact Information Display Settings. If you ever wanted to change or customise the information shared with all employees in their Staff Contact module, this is for you. Previously, the system uses a standard template for all subscribers but with the current update, Admins will be able to choose up to a maximum of ten relevant data fields from users’ profiles (Personal Information section) and adjust the sequence arrangement. Go to Company > Profile Field > Click on ‘Staff Contact Information’ button to access the settings window. Please refer to the screenshots below for more details: |
| i. Staff Contact Information Settings button in Profile Field |
 |
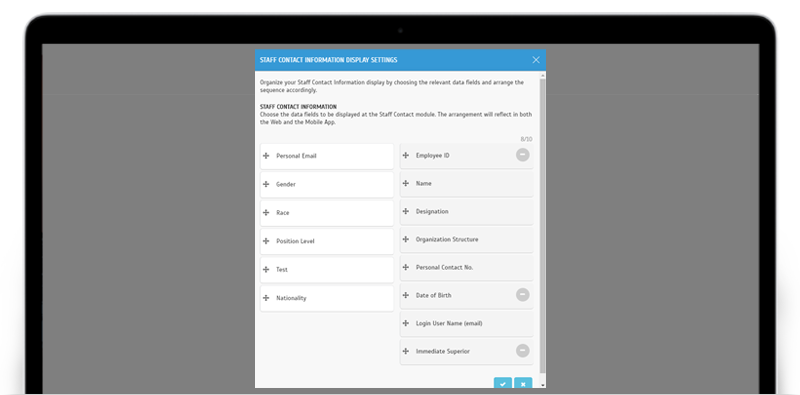
| ii. Display Settings- Drag to the right column to display in Staff Contact |
 |
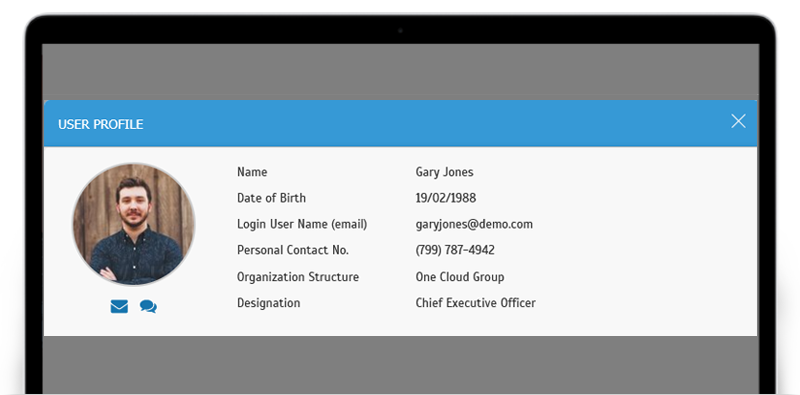
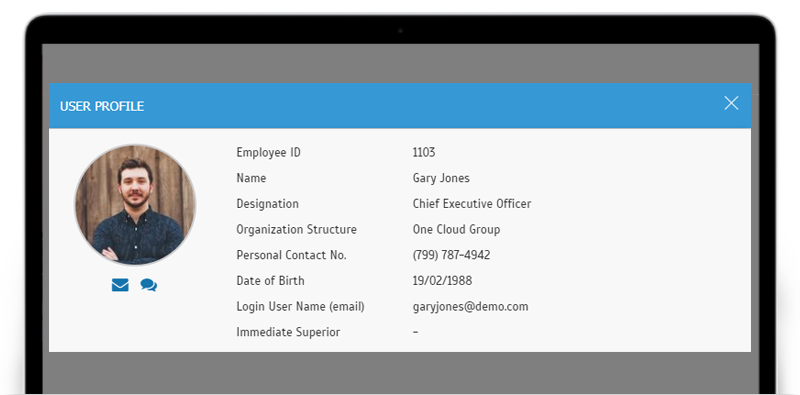
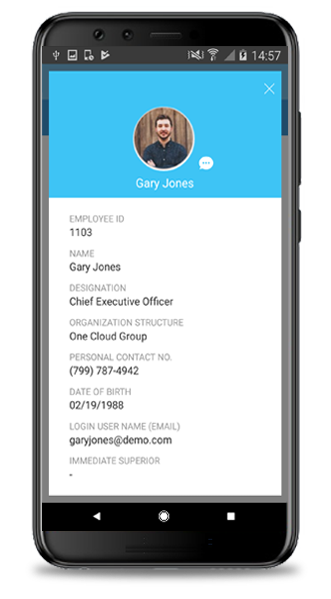
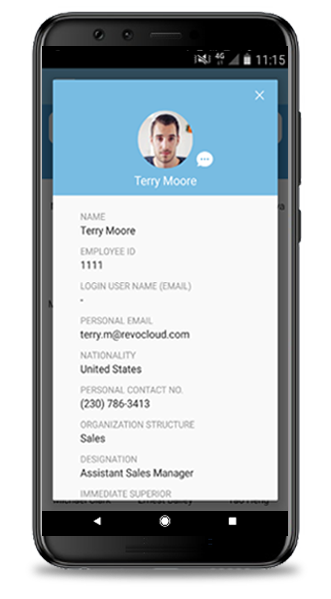
| iii. Staff Contact View |
 |
 |
 |
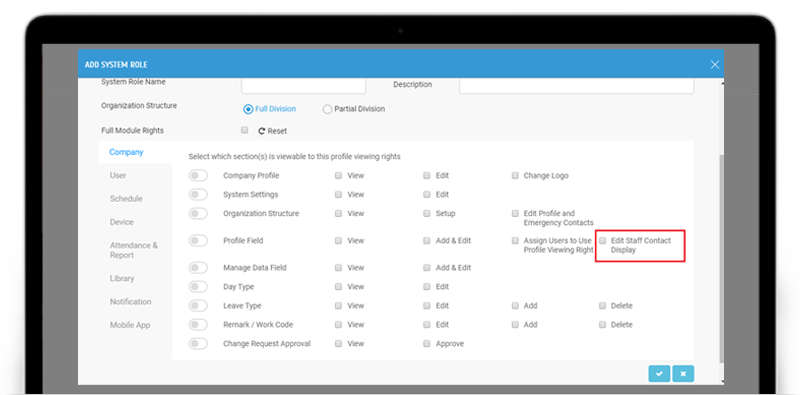
| iv. “Edit Staff Contact Display” in System Role |
 |
|
TimeTec TA App Update
1. Settings |
  |
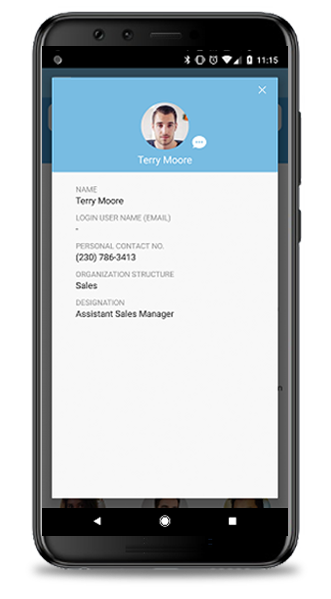
| 2. Staff Contact Enhanced User information loading process Staff information fields will be displayed based on the Staff Contact Settings in Web |
  |
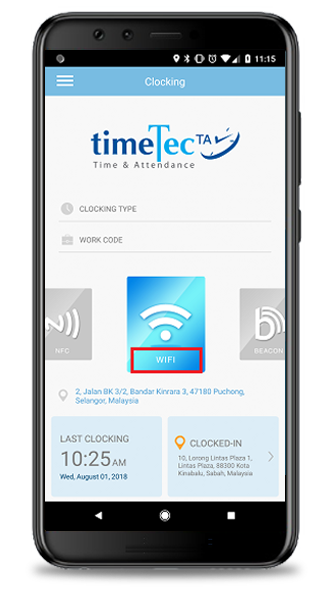
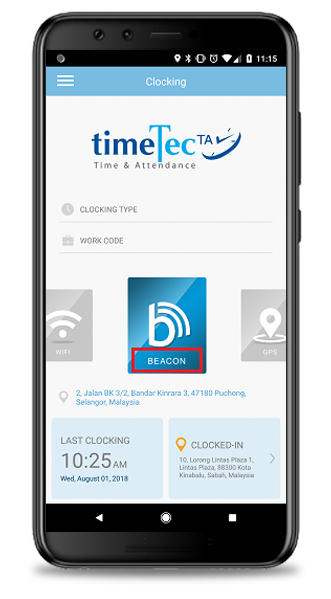
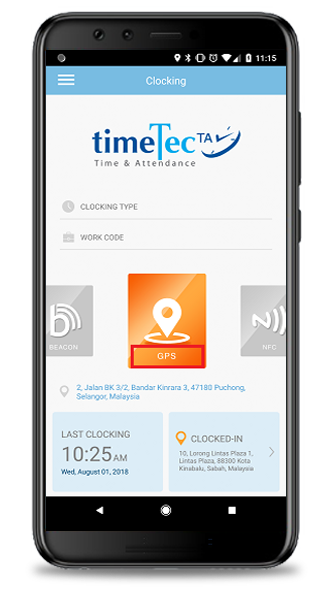
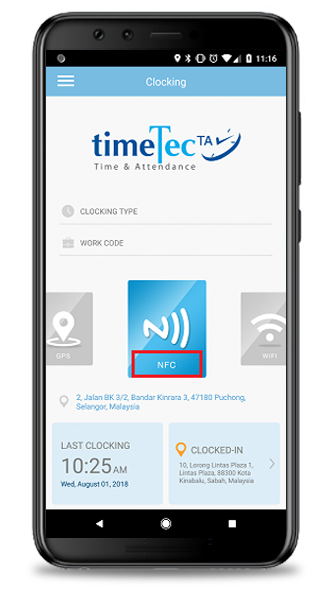
| 3. Clocking Added label on the Clocking icon for all Clocking methods |
  |
  |
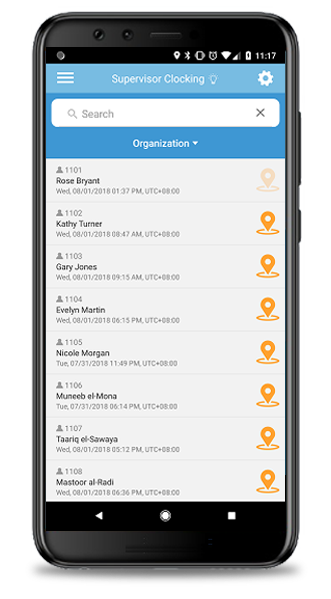
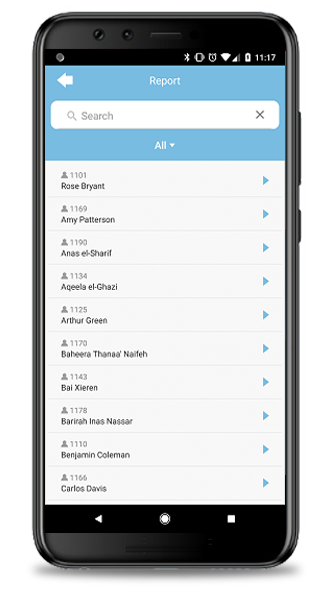
| 4. General By default, staff listings display the current login user’s name at the 1st position in the list |
  |
| Previous Issue: July 2018 • June 2018 • May 2018 |
| Note: If some of the screenshots or steps viewed here are different from the ones in the current system, this is due to our continuous effort to improve our system from time to time. Please notify us at info@timeteccloud.com, we will update it as soon as possible. |